
Installing Eyesim on Ubuntu 22.04!
Eyesim is a robot simulator that lets you program some robots, used in the lab assignments for some units in The University Of Western Australia, in a simulated environment. Here is a quick guide on how to setup Eyesim on your Ubuntu 22.04 device!
I used PopOS 22.04, which is an ubuntu-based distro so the steps should be the same.
Oh, and we will also cover how to add Eyesim to your search menu!

Note: I have heavily referred to roblab's official eyesim website and extends upon the instructions provided from there.
Steps:
Install X11 library using following command:
sudo apt-get install libx11-devDownload the latest Eyesim for Linux from here
- Yes, the
.tag.gzfile.
- Yes, the
Unarchive the
.tar.gzfile in yourhome/<your username>directory!This is the directory that is accessed when you do
cd ~.So after unarchiving the zip into your home directory, you should have a
home/<your username>/EyeSim/directory!
Open a terminal inside of that EyeSim/ folder.
Modify the
install.shfile with a text editor of your choice, and comment out lines 15.But why Ash? Well, it is desireable for us to keep and copy the
eyesimXfolder to a location of our choice as it has example eyesim programs in C, C++ and python.Also check line 11 to make sure that the location, where
eye.pywill be placed, is the correct location to put your own python modules.- If you're not using python3 or if you're using a python version manager such as pyenv, then that directory will be different. (ChatGPT can help you figure out that directory :P)
Execute the installation script by running
sh install.shIf it says something like
install.sh: 18: cannot create /etc/ld.so.conf.d/local.conf: Permission deniedthen just run
sudo sh install.shNote: Don't do this with any random scripts! We have looked at the contents of this script so we can trust it. But still, just be sure to double check it to make sure there's no fishy commands!
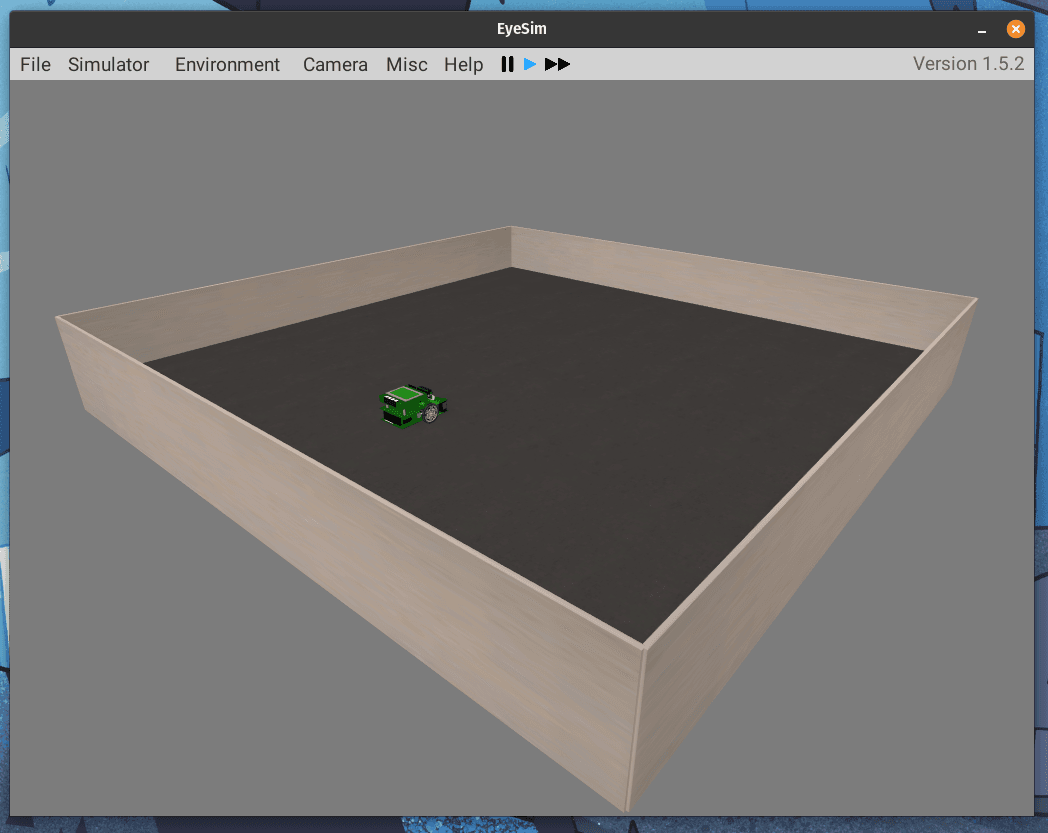
Try running
eyesimin your terminal. This should open up eyesim, along with a terminal!Now to add eyesim to our applications menu (i.e. the place you can search for applications from):
Open your terminal in the EyeSim/ folder you made, and run
pwd. Copy that path and paste it somewhere because you'll need it in a sec.Create a new file called
eyesim.desktopsomewhere.Add these contents to it (replacing
<your copied path!>with the path you copied when you ran thepwdtwo steps ago):[Desktop Entry] Type=Application Name=EyeSim Exec=<your copied path!>/EyeSim Icon=<your copied path!>/EyeSim_Data/Resources/UnityPlayer.png Terminal=false Categories=Game;Simulation;Run
chmod +x /path/to/eyesim.desktop(e.g. if it's on your desktop thenchmod +x ~/Desktop/eyesim.desktop)Now copy that file to
~/.local/share/applications/You can do that by
cp path/to/eyesim.desktop ~/.local/share/applications/
Now log out of your machine and log back in.
You should be able to find Eyesim in your application launcher now! Give yourself a pat on the back :)
Let me know absolutely any of your thoughts and ideas down in the comments!